I just did a
post on some of my Easter decorations, and I wanted to share my Easter bunting that I made in about an hour! It was so easy!
Here's what you need:
- cute paper (I used some scrap booking paper)
- egg template
- scissors
- hole punch
- letters
- ribbon
- glue or photo backing squares
Let's get started!
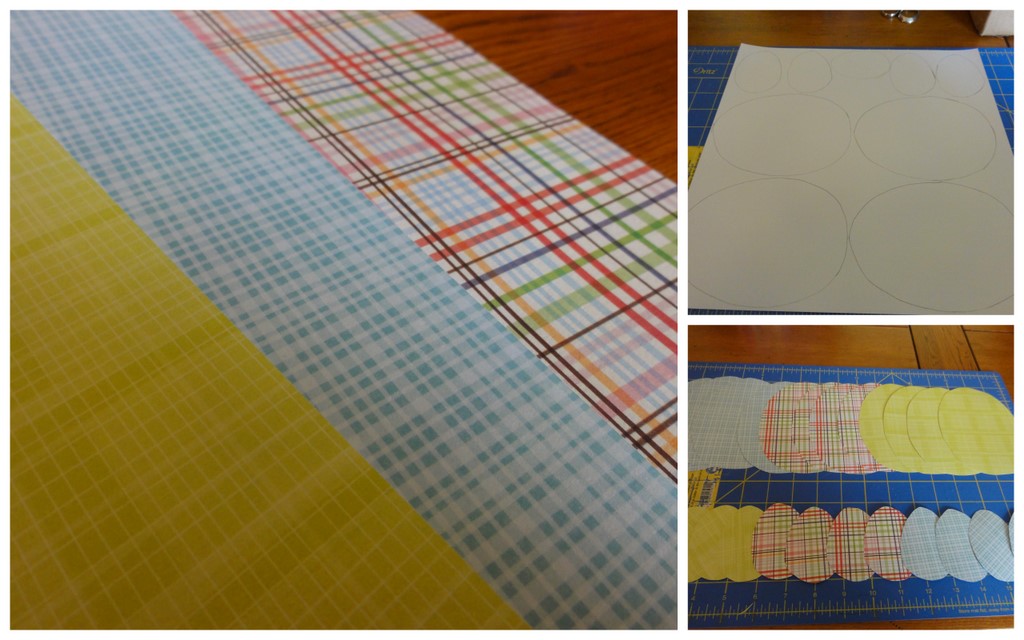
To make my egg template, I just found an egg that I liked off of Google Images and resized it in Picasa to get the sizes that I wanted. You can make your eggs as big or small as you'd like - since my mantle is pretty big my eggs are on the larger side.
After my egg templates were cut out, I picked my papers, traced the eggs on the back, then cut them out.
Unfortunately, I don't have any pictures of the next part, but it's really simple. I just took a hole punch and punched two holes near the top of each egg. Then I used my Cricut to cut out the letters for "Happy Easter" and also cut out a few flowers to add some space between the two words. After they were attached with the photo backing squares, I strung the letters on my ribbon and hung them up, and......
ta-da! Easy Easter Bunting to add a little spring color to your home!
If you were wondering about the smaller eggs in the first few pictures, I used them to decorate my front door. I just hand wrote "Happy Easter" and used some clear tape to hang them up!
Happy Easter decorating!